WIKI IS CURRENTLY UNDER CONSTRUCTION
New player guide
Creating your account
First you need to create an account. You can register your account on the official OSPS homepage. Register and download the client here: https://oldschoolrsps.com/play-now and login on the client with your account details. If you have any issues please head to the #support section on the discord and create a ticket and the staff team will help you out.
Logging on
When first logging in to your account you will spawn in the Kingdom of Arisle. As a new account, you will spawn on the Arisle Docks which is located on the south of the island. Here you will find the XP-Rate Tutor, the Ironman Tutor and the Makeover Mage.
Selecting an XP-rate
Speak to the XP-Rate Tutor and select your desired XP-rate. You can choose between the following 4 default xp modes:
- Normal (x50 rate)
- Extreme (x15 rate)
- Nerd (x5 rate)
- No-lifer (x1 rate)
Experience rates offer a boosted drop rate for those who chose the lowest rates (starting from x30 and all the way down to x1). Any custom rate above x30 does not get a boosted drop rate. You can see the full list of boosts here: Gamemode benefits
Please note that you can change xp rates later on! You will be able to choose any custom rate from 1-50x.
You can change your XP-rate at any time by speaking with the Gielinor Guide located near the Home centre area. If you change your XP-rate within the first 6 hours of playtime, it will be free-of-charge for the first change. Otherwise, there is a fee that increases every time you change your rate. Visit this wiki page: Gamemode benefits for more information on custom XP-rates benefits and the fee for changing rates.
Custom guides plugin
On OSPS we have created a custom starter plugin that should automatically activate when logging in. Following/enabling the plugin is a great way to get to know the server early on. Also completing the guide in the plugin, you will be rewarded with some starter cash.
Selecting a game mode
On Oldschool RSPS you will find a variety of different game modes. You can choose to play as a regular account (normie) or choose between multiple ironman modes, both solo and group ironman modes. Speak to the Ironman tutor to select an ironman account mode. You can find the full list and explanations of each mode on this wiki page: Ironman mode
List of available ironman/restricted modes:
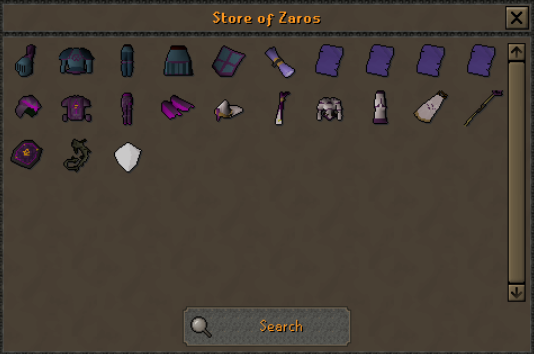
| Mode | Armour |
|---|---|
Yin-Yang and Hardcore Ultimate Ironman modes are unique to OSPS. You can read more about Yin-Yang mode here: Yin-yang.
Makeover Mage
You can customize your character's appearance by speaking with the Makeover Mage.
Entering Ferstep
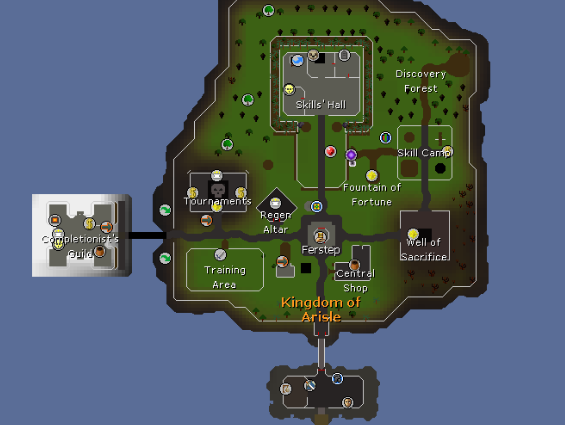
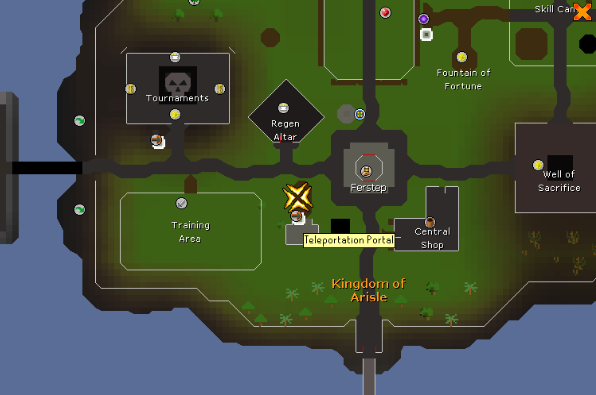
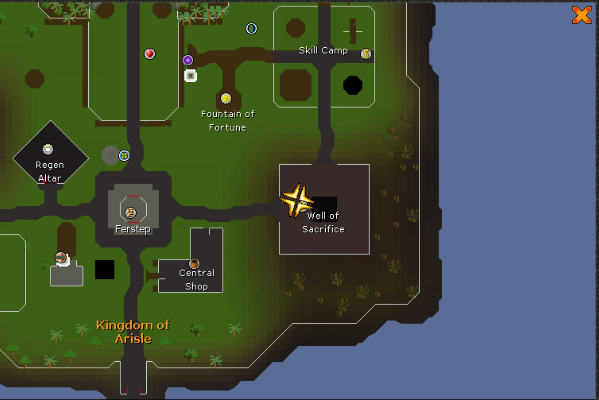
After selecting your XP-rates, game mode and appearance you should continue your adventure north through the gate into the city of Ferstep, the hometown of OSPS. Keep going north and you will enter the city center where you will find the banks, Grand Exchange, the Gielinor Guide and much more! On the map below you can see the most important locations around the Kingdom of Arisle. In this guide we will take you through most of the locations one by one.
Voting
We always recommend that you start out by voting. Players are able to vote every 12 hours.
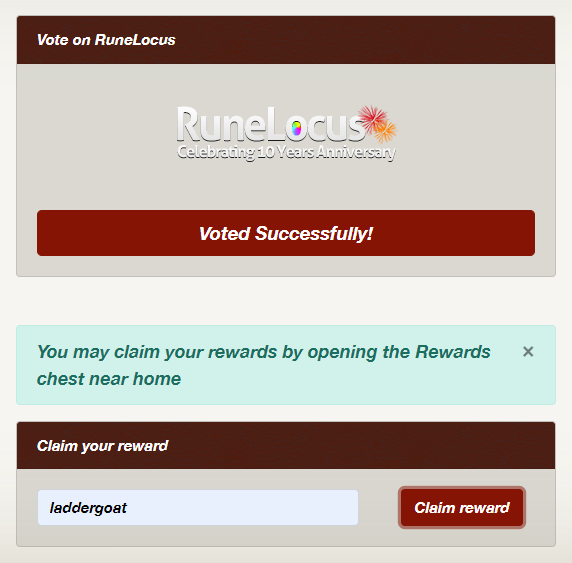
You can open the vote page by typing ::vote in-game and hit enter. Otherwise follow this link: https://oldschoolrsps.com/vote . When you go to the landing page hit “Vote” and follow the “captcha” on Runelocus. Afterwards go back to the landing page again and type in your username and claim the reward. If you voted successfully the message should look like this:
After claiming the reward on the landing page, go back to the client and locate the big glowing “Rewards chest” just north of the banks at ::home. Right click the chest and claim you vote book and cash reward. Now you can either use the vote book and get bonus experience or you can sell the vote book on the Grand Exchange or to other players (if you are not an ironman account). You can also right click “use” the reward on any account to give it to them (even ironmen).
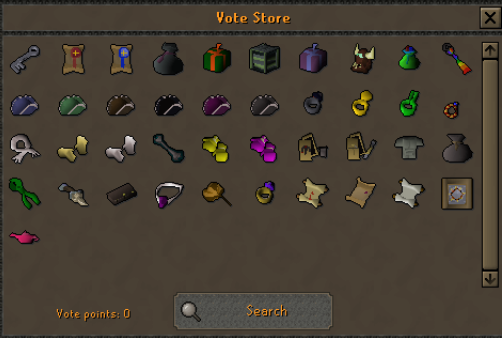
If you choose to use the reward book you will get vote points. These points can be used in the vote store accessible by talking to the Town Crier walking around the city center. You can also access the PVM and Skilling stores through the Town Crier.
General store / Wunstahb's Shop
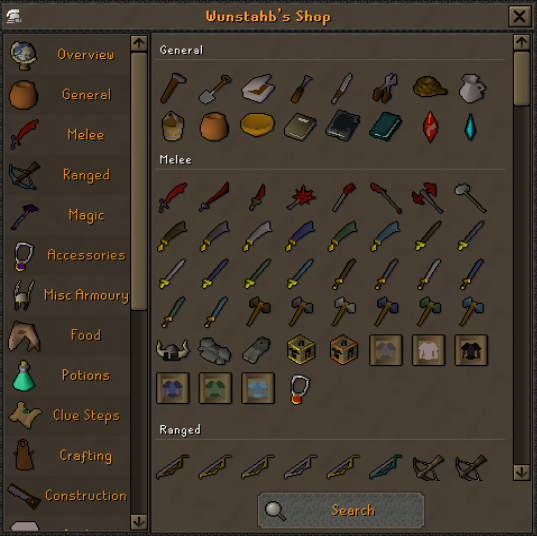
Just southeast of the city center you will find the general store, called Wunstahb’s Shop, where you will be able to buy a lot of items, including: potions, supplies, armor, weapons, skilling supplies/utensils, runes and much more. The shop is also accessible for ironmen accounts. However, ironmen accounts can’t purchase the same items as regular accounts. In the top left of the shop interface, you can change between the regular shop and the ironman shop (on ironman accounts the default will be the ironman shop).
Affinity and affinity tokens
On OSPS we have a custom concept called affinity. Affinity is obtained while wearing a halo and mainly while doing skilling activities/actions. To obtain a god halo walk slightly north west of the city center and locate Brother Tranquility. Speak with him and select a god to pledge your allegiance to. Note this is a permanent decision and you can’t change god later on.
Wear the god halo while doing skilling activities to obtain affinity tokens. Affinity tokens can be used to purchase various items from the Brother Tranquility shop. This includes god d’hide armor, god book pages, god robes and more. Red more affinity and affinity tokens here: God halo. To get the affinity tokens simply use your god halo on the prayer altar at home and withdraw your desired amount.
Getting your first combat stats
Equip your god halo and head west of the city center until you reach the training area filled with cows.Equip your desired starter weapon and start slaughtering the poor cows to train your combat stats.
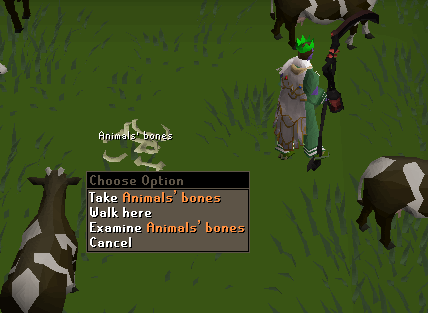
Upon killing the cows, they will drop an item called ‘Animal bones’. Pick up the bones and use it on the water troughs to gain XP in any of the following skills at random: Attack, Strength, Defence, Hitpoints, Ranged, Prayer or Magic. The XP gained is scaled to your chosen XP rate. The XP gained from the animal bones cap based on your individual combat stat/skill level. When you reach level 45 in any combat stat you will no longer receive XP in that skill. Once they cap all combat skills they won't be able to use the bones anymore.
This is a great way to train early levels. Consider combining your combat training with slayer training or discovery training. Discovery is a custom skill on OSPS. You can read more about the skill in general here: Discovery and here: Discovery training for a guide on how to train the skill. Also the Discovery Professor, located in the Discovery Lab, will provide a great beginner guide for the skill. You can also use this guide: Discovery NPC locations to find all locations for Discovery monsters.
Getting a slayer task
Training slayer is an important skill on any gamemode. When you feel ready to start training slayer, just head to the teleportation portal located right between the city center and the training area. I recommend looking at the ret's Oldschool RSPS Iron Slayer Guide created by Ret in the guides section on discord.
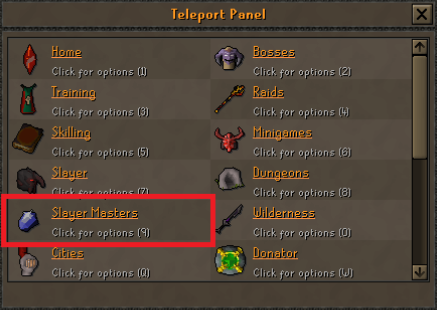
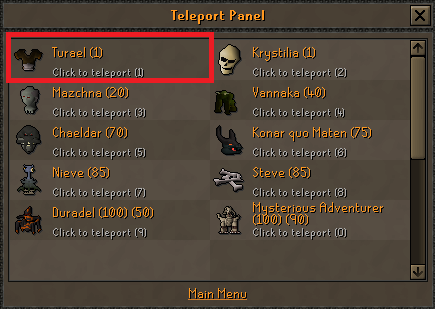
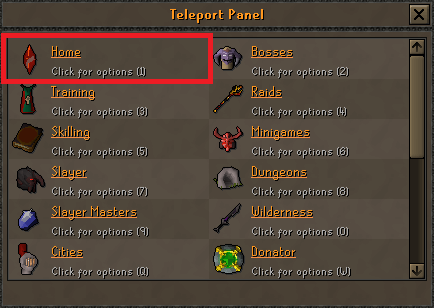
Click the portal to open the Teleportation Panel. Here you can teleport to various locations around Gielinor. To start slayer training click on ‘Slayer Masters’ and click on ‘Turael’. Speak to Turael to get your first slayer task.
Upon completing your slayer task you are rewarded with a slayer chest, some cash and some slayer points. You can read more about the slayer chests here: Slayer chest rewards.
Getting your first skilling stats and task
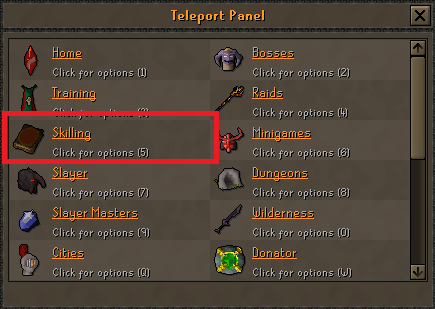
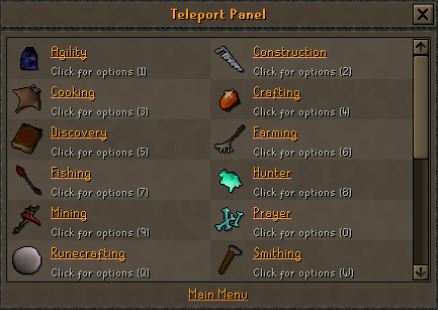
If you want to start your adventure by skilling it is recommended to visit the General Store / Wunstahb’s Shop and purchase the needed utensils. When you are ready to start skilling you should head back to the Teleportation Portal and locate the ‘Skilling’ teleport option. From here you can teleport to any skill you desire.
Skilling tip: On OSPS it is possible to get skilling tasks, similar to how slayer tasks work. These tasks offer cash rewards for completing them. It is recommended to get a skillign task before starting your skilling activities. To get a skilling task open the teleportation panel and locate the “Home” teleport, from here teleport to the “Skill camp” and walk just outside the west entrance and locate the “Skill Master”. Speak with him and select which skill you want to get a task for. Please note, that you can skip tasks for free if you don’t want to do the task.
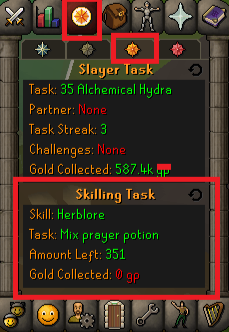
You can follow the skilling task progress by locating the Task details section of the “Quest tab”.
AFK Skilling Zone
If you prefer AFK skilling we have added an AFK skilling zone. In here you are able to train the following skills:
- Farming
- Agility
- Fishing
- Mining
- Runecrafting
Players can AFK the skills for 15 minutes at a time, before having to do another activity for 30 seconds. (The time CAN be increased to 30 minutes if a player holds the Dragonstone ($500) donator rank). Every 15 minutes, the player will be "interrupted" and has to re-click on the activity. The farming activity runs on a global 15 minute interruption timer. The mining, runecrafting, fishing and agility activities run on a personal 15 minute interruption timer.
XP gained is based on visible level of the respective skill. Current formula is visible level / 4 with a minimum of 5 XP if your level is low enough.
Activities that have different tiered tools will provide bonus XP for higher tier tools The 15 minute personal timer can be reset by stopping the activity for at least 30 seconds.
The AFK Skilling Zone is located in the ‘Skilling Camp’ which is found through the teleportation panel under ‘Home’ teleports.
Well of Sacrifice / Sacrifice Perks
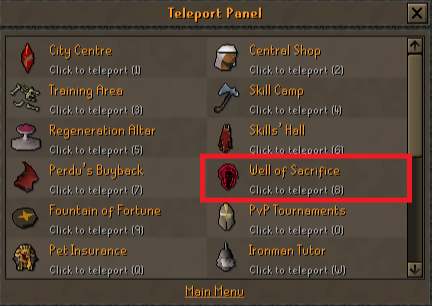
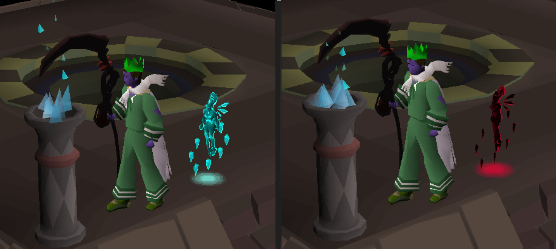
On OSPS we offer a unique concept called Well of Sacrifice. In this well you are able to sacrifice unwanted items in exchange for sacrifice points. The sacrifice points can be used to purchase powerful sacrifice perks that can be used around the game. These perks are both general buffs, pvm buffs, skilling buffs and raid buffs. Most pvm items (announced drops) can be sacrificed to the Well of Sacrifice. A full list of all eligible items can be found here: Sacrifice offerings. Players can also teleport to the Well of Sacrifice in-game by going to the teleportation portal and locate the ‘Home’ teleport followed by the ‘Well of Sacrifice’ teleport or by running straight east from the city center at ::home. By right clicking on the well, you can see both item prices and the full list of perks. A full list of all perks can also be found here: Sacrifice rewards.
